If any damage appears to your crossbody phone bag, then there are different DIY tasks to consider for some basic fixes. For example, if your strap is broken or detached, you can easily sew it. If there are some scratches on your leather bag, then you can use adhesive patches as well to recover the damage. But, if there are large and harsh scratches, then you need to seek professional care from an expert. This will help in ensuring its functionality and will provide you the ease of wearing it properly.
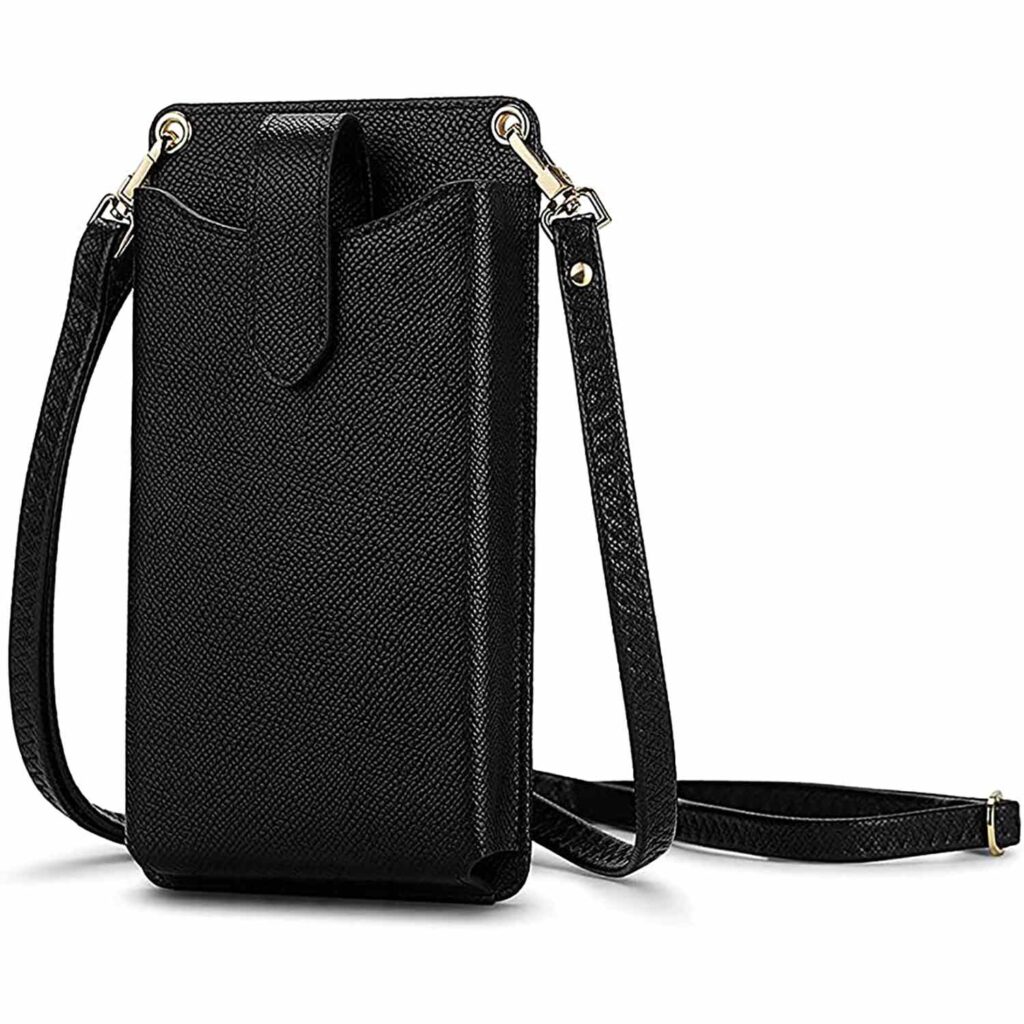
DIY Fixes for Crossbody Phone Bags:
There are various DIY ideas for fixing your crossbody phone bags. If they are damaged from any side, the following ideas should be followed to repair your bag and maintain its good condition.
Strap Repair:
If the adjustable strap of your crossbody phone bag is damaged, then start repairing it. You can easily sew it with thread and needle to prevent further damage. For this, take a heavy-duty needle and a thread made of polyester or nylon. The thread should be of the same color as the strap. To keep the strap in its previous shape, do perfect stitching to enhance its durability. Moreover, always ensure that the stitches are tight and completely secure. Along with this, you can also do additional stitches to prevent any further damage. If your cross-body phone bag straps are made of leather, then also condition it with leather conditioner after stitching it.
Fabric Patching:
While doing fabric patching, first you have to ensure that the area around your scratch is completely clean. For this, you can use a mild water solution or a detergent to remove any dust. If you have a small scratch on your crossbody phone bag, then apply less fabric glue. But if you are having large scratches on your bags then take an adhesive fabric patch. Place this patch on the scratch. Press it very gently to ensure that it adheres completely to the bag.
Then let the adhesive dry completely as mentioned in the instructions on the label. In addition to this, if you want to add more security and longevity to your bag, then you can also sew the edges of the patch to provide it a more finished look.
Hardware Replacement:
If any hardware component including buckles or zippers is broken in your crossbody phone bag, then first identify them and then buy new ones of the same size and shape. For attaching them to your bag, use screwdrivers or pliers. It will help you with easy removal of the previous hardware and new installation. So try to attach the new pieces very securely. It all depends on the construction of the bag. So, try to ensure that the hardware you have used for replacement is completely attached and highly functional.
Decorative Embellishments:
You can also convert the repairing process of your crossbody phone bag into a creative DIY project. This can be done by adding decorative embellishments on your crossbody phone bags. For this, you can choose different types of embellishment designs including embroidered patches, paints, etc. These embellishments are according to your personal style and design that goes well with your crossbody bag.
So first try to clean the surface of the bag and then add embellishment to it. In addition, you can easily design any pattern of embellishment on your bag before adding it. Then apply the adhesive and secure the embellishment properly. Lastly, use sealing paint to add durability to your crossbody phone bags.
Conclusion:
All the above-mentioned DIY techniques for your crossbody phone bags are worth considering. You should concentrate on the quality and the type of crossbody bag you are having. Then choose the DIY fixation method for each type of crossbody phone bag. This not only adds functionality to your bag but also enhances the aesthetic appeal. Moreover, it increases the durability and creativity level of the bag as well.